이 글을 쓰게 된 계기는 다음과 같다.
안드로이드 개인 프로젝트를 하고 있는데
초기 기본설정에서 일반적인 것들은 처리 되었으나 스플래시 화면 (splash screen)과 상태바 (status bar) 만 dark mode가 적용이 되지 않았다.
인터넷에 있는 방법들은 아무리 해도 먹히지 않았다.
정보가 많지않아서 많이 헤맨만큼 다른 사람도 헤맬것이라 생각하여 정리해본다.
사실 결론은 안드로이드 스튜디오에서 jetpack 프로젝트로 생성하면서
자동 생성된 프로젝트 기본설정에서 잘못된 부분이 있어서 무엇을 해도 적용이 제대로 되지 않았던 것이였다.
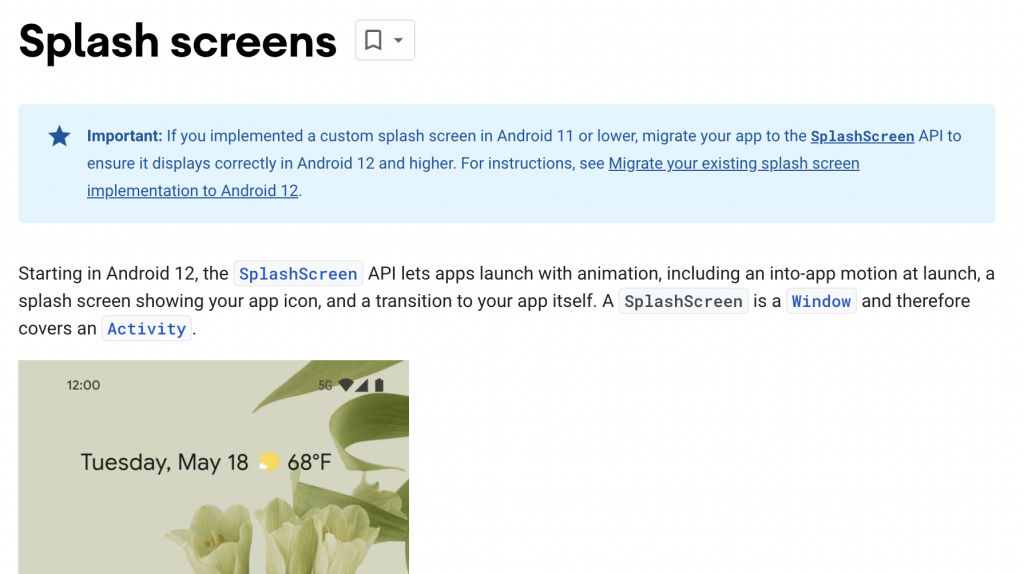
안드로이드 12 이후로 변경된 splash screen에 대해서는
https://developer.android.com/develop/ui/views/launch/splash-screen
공식 개발자 홈페이지를 참고하자.
아래 코드는 jetpack compose - material m3 기준으로 작성하였다.
미리 결론부터 이야기 하면 가장 문제였던 부분은 이 부분이였다.
Theme.kt
//    val view = LocalView.current
//    if (!view.isInEditMode) {
//        SideEffect {
//            val window = (view.context as Activity).window
//            window.statusBarColor = colorScheme.primary.toArgb()
//            WindowCompat.getInsetsController(window, view).isAppearanceLightStatusBars = darkTheme
//        }
//    }
여기서 강제로 statusBarColor를 변경시켜 버렸기에 아무것도 적용되지 않고 있었다.
Theme.kt 의 경우 기본 생성된 파일이였고
나는 애초에 따로 건들지 않았기 때문에 예상도 못한 부분이였다.
해당 부분이 만약 코드에 포함되어 있다면 가감하게 지워도 좋을 것 같다
나는 Now In Android 의 코드를 참고해서 설정하였다.
참고로 중간중간에 나오는 NIA 라는 것은 Now In Android의 약자이므로, 본인의 프로젝트에 맞게 변경하면 된다.
봐야 할 부분은 딱 4가지 이다.
/res/values/themes.xml
<?xml version="1.0" encoding="utf-8"?>
<resources xmlns:tools="http://schemas.android.com/tools">

    <!-- Allows us to override night specific attributes in the
         values-night folder. -->
    <style name="NightAdjusted.Theme.Nia" parent="android:Theme.Material.Light.NoActionBar">
        <item name="android:windowLightStatusBar" tools:targetApi="23">true</item>
        <item name="android:windowLightNavigationBar" tools:targetApi="27">true</item>
    </style>

    <!-- Allows us to override platform level specific attributes in their
         respective values-vXX folder. -->
    <style name="PlatformAdjusted.Theme.Nia" parent="NightAdjusted.Theme.Nia">
        <item name="android:statusBarColor">@color/black30</item>
    </style>

    <!-- The final theme we use -->
    <style name="Theme.Nia" parent="PlatformAdjusted.Theme.Nia" />

    <style name="NightAdjusted.Theme.Splash" parent="Theme.SplashScreen">
        <item name="android:windowLightStatusBar" tools:targetApi="23">true</item>
        <item name="android:windowLightNavigationBar" tools:targetApi="27">true</item>
    </style>

    <style name="Theme.Nia.Splash" parent="NightAdjusted.Theme.Splash">
        <item name="windowSplashScreenAnimatedIcon">@drawable/ic_splash</item>
        <item name="postSplashScreenTheme">@style/Theme.Nia</item>
    </style>

</resources>
/res/values-night/themes.xml
<?xml version="1.0" encoding="utf-8"?>

<resources xmlns:tools="http://schemas.android.com/tools">

    <style name="NightAdjusted.Theme.Nia" parent="android:Theme.Material.NoActionBar">
        <item name="android:windowLightStatusBar" tools:targetApi="23">false</item>
        <item name="android:windowLightNavigationBar" tools:targetApi="27">false</item>
    </style>

    <style name="NightAdjusted.Theme.Splash" parent="Theme.SplashScreen">
        <item name="android:windowLightStatusBar" tools:targetApi="23">false</item>
        <item name="android:windowLightNavigationBar" tools:targetApi="27">false</item>
    </style>

</resources>
/res/values-v23/themes.xml
<?xml version="1.0" encoding="utf-8"?>
<resources>

    <style name="PlatformAdjusted.Theme.Nia" parent="NightAdjusted.Theme.Nia">
        <item name="android:statusBarColor">@android:color/transparent</item>
    </style>
</resources>
/res/values-v27/themes.xml
<?xml version="1.0" encoding="utf-8"?>
<resources>

    <style name="PlatformAdjusted.Theme.Nia" parent="NightAdjusted.Theme.Nia">
        <item name="android:statusBarColor">@android:color/transparent</item>
        <item name="android:navigationBarColor">@android:color/transparent</item>
    </style>
</resources>
이렇게 버전에 따라 theme.xml을 설정해준 후
(필요하다면 중간에 나오는 @color/black30 도 추가해주거나 본인에 맞게 수정하면 된다. 나는 @color/white 로 변경해주었다.)
/AndroidManifest.xml 에서 application 의 theme 값을 "@style/Theme.Nia.Splash" 로 수정해주면 된다. (Nia는 상황에 맞게 수정)
트러블 슈팅 하는 과정에서 구글에서 jetpack 환경에서 쉽게 System UI를 수정할 수 있도록 만든 < systemuicontroller > 이라는 라이브러리도 알게되었다. 궁금하면 참고해보자.
https://google.github.io/accompanist/systemuicontroller/
트러블 슈팅 할 때는 이것저것 해보느라 넣어서 사용해보았지만 정확한 원인을 알고나서는 제거하였다. (일단 내가 만들고 있는 앱은 디자인이 중요하지 않기 때문에.
'개발' 카테고리의 다른 글
| [Jetpack Compose] Navigation Drawer와 TopAppBar 연결하기 (0) | 2023.06.03 |
|---|---|
| [Jetpack Compose] State와 DataStore 연결하기 (0) | 2023.06.03 |
| [Jetpack Compose] nestedScroll connection 을 이용하여 스크롤 시에 AppTopBar를 사라졌다 보였다 하게 하기 (0) | 2023.06.03 |
| [github action] create-release, upload-release-asset - warning 제거하기 (0) | 2023.05.19 |
| Github Action을 이용하여 자동으로 signed apk 빌드하기 (23년 5월 기준) (0) | 2023.05.19 |

댓글